
For professionals and enthusiasts alike, achieving accurate color representation on a monitor is critical. Whether you’re a graphic designer, photographer, video editor, or simply want the best viewing experience, color calibration is essential. This guide will take you through various steps and tools to help you calibrate your monitor for accurate color.
Why Calibrate Your Monitor?
Before diving into the how-to, it’s essential to understand why monitor calibration is crucial:
- Color Accuracy: Ensures what you see on-screen matches the real world.
- Consistency: Provides a consistent viewing experience across different devices.
- Quality Control: Essential for professional work where color precision matters.
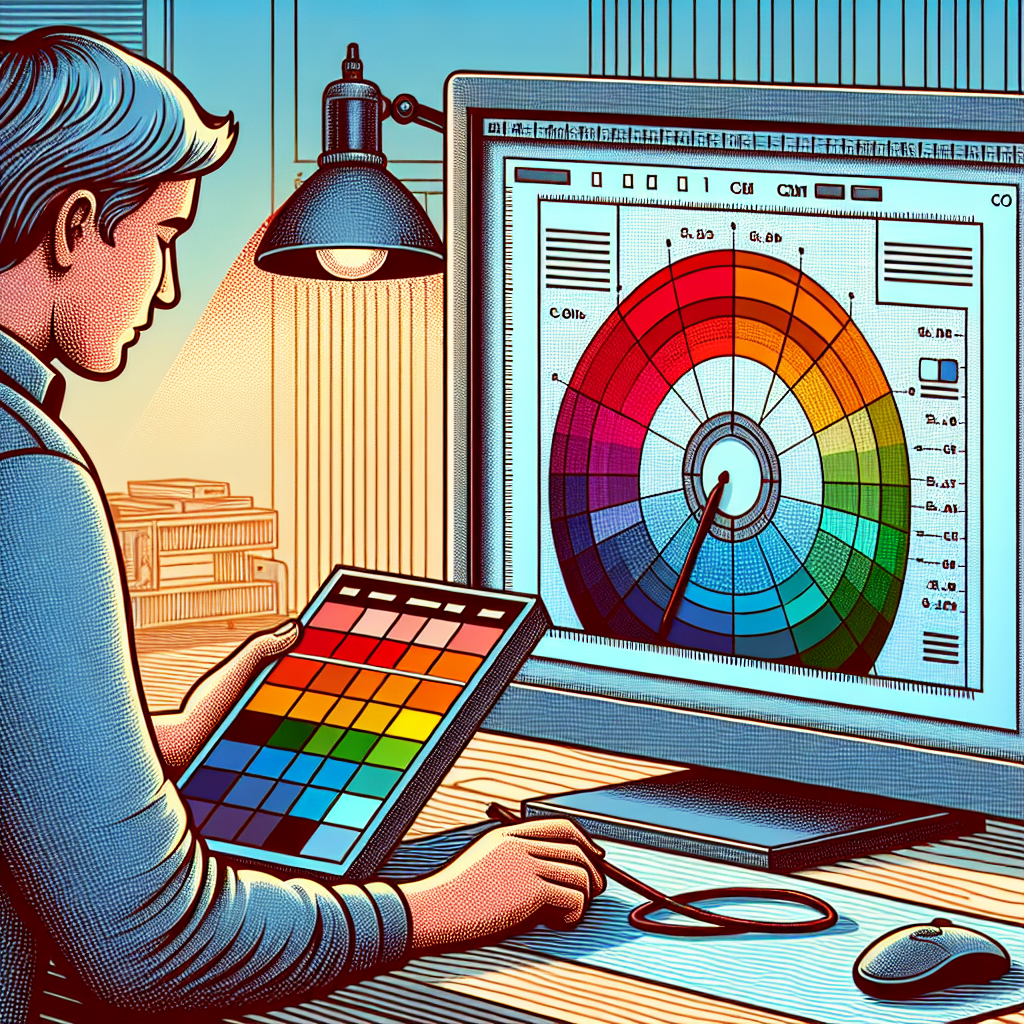
What You Need for Calibration
To get started with calibrating your monitor, you will need the following:
- Hardware Calibrator: Devices like X-Rite i1Display Pro or Datacolor SpyderX.
- Calibration Software: Software included with the hardware calibrator or third-party options like DisplayCAL.
- Time and Patience: Calibration process usually takes 20-30 minutes.
Steps to Calibrate Your Monitor
Step 1: Warm Up Your Monitor
Ensure your monitor is properly warmed up before starting the calibration process. A 30-minute warm-up period is typically recommended to get accurate results.
Step 2: Reset to Factory Settings
Reset your monitor to its factory default settings to clear any previous calibration settings.
Step 3: Environment Setting
Calibrate your monitor in a controlled lighting environment. Avoid direct sunlight and use minimal room lighting to avoid glare.
Step 4: Install and Launch Calibration Software
Install the calibration software that came with your hardware calibrator or any preferred third-party software. Launch the software and follow the on-screen instructions.
Step 5: Position the Calibration Device
Attach the hardware calibrator to your screen as per the manufacturer’s instructions. Ensure it sits flat against the screen without any gaps.
Step 6: Select Display Settings
Choose the correct display settings on the calibration software. This usually involves selecting your monitor model, display type, and connection type.
Step 7: Begin the Calibration Process
Initiate the calibration process through the software interface. The software will display a series of colors and brightness levels while measuring the responses through the calibrator. Follow the on-screen instructions.
Step 8: Save and Apply the Color Profile
Once the calibration is complete, save the new color profile. The software will prompt you to apply this profile, ensuring your monitor uses the newly calibrated settings.
Maintaining Your Calibrated Monitor
Color calibration is not a one-time task but a continuous process. Here are some tips to maintain your calibrated monitor:
- Regular Calibration: Recalibrate your monitor monthly or bi-monthly.
- Monitor Environment: Keep a consistent lighting environment.
- Profile Backup: Save a backup of your color profiles.
Common Calibration Issues and Solutions
| Issue | Solution |
|---|---|
| Color Cast | Recalibrate in a controlled lighting environment. |
| Inconsistent Colors | Update calibration software and repeat calibration. |
| Calibration Device Error | Ensure device firmware is updated and restart calibration process. |
Conclusion
Calibrating your monitor for accurate color might seem like a daunting task, but it is a critical step for anyone who values color precision. With the right tools and a bit of patience, you can ensure that your monitor displays the most accurate colors, enhancing your overall experience and quality of work.