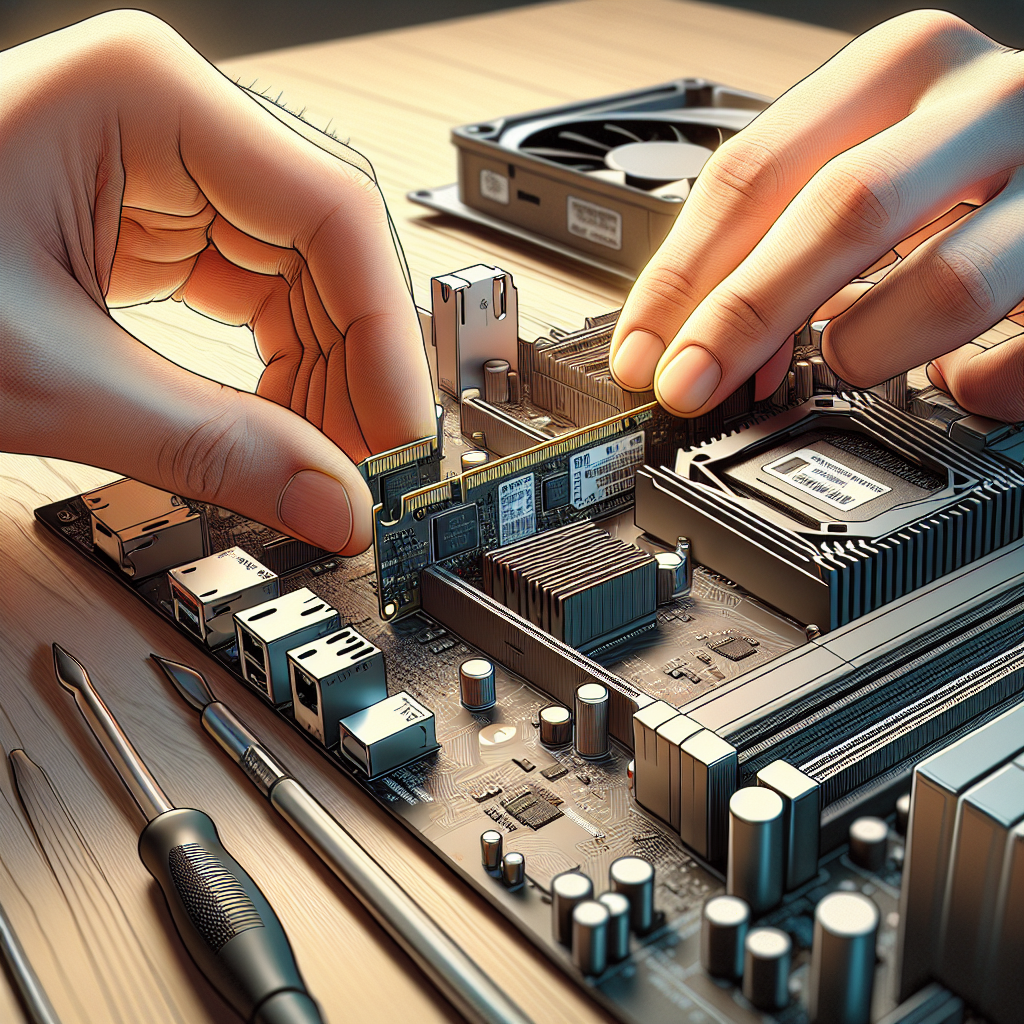
Installing a network adapter is essential for connecting your computer to a network, whether for internet access, file sharing, or other functions. But what if your computer doesn’t come with an optical drive to install the necessary drivers? Worry not! This guide will provide comprehensive steps on how to install a network adapter without an optical drive.
Different Methods for Installing a Network Adapter
Depending on your situation, you can choose from several methods to install your network adapter. Here’s a breakdown:
| Method | Requirements |
|---|---|
| Download from Manufacturer’s Website | Internet Access, Another Computer |
| Using a USB Drive | USB Drive, Another Computer |
| Preloaded Drivers | Network Adapter, Compatible System |
| Windows Update | Internet Access |
Method 1: Download Drivers from Manufacturer’s Website
Step-by-Step Guide:
- Find another computer with internet access: This could be at your home, office, or a friend’s place. Search for the network adapter drivers on the manufacturer’s website.
- Download the drivers: Make sure to download drivers that are compatible with your operating system.
- Transfer the drivers to a USB drive: Plug in a USB drive and copy the downloaded files to it.
- Connect the USB drive to your computer: Insert the USB drive into the computer that needs the network adapter installation.
- Install the drivers: Open the files and follow the installation instructions. This usually involves running a setup program.
Method 2: Using a USB Drive
Step-by-Step Guide:
- Prepare a USB drive: Ensure you have a USB drive with sufficient space to store the drivers.
- Transfer drivers from another computer: Use a different computer to download the necessary drivers and copy them to the USB drive.
- Insert the USB drive into your computer: Place the USB drive into the target computer and open the driver files.
- Install the drivers: Follow the on-screen instructions to complete the installation.
Method 3: Preloaded Drivers
Step-by-Step Guide:
- Check if the drivers are preloaded: Sometimes, operating systems come with generic network adapter drivers.
- Connect the network adapter: Plugin the network adapter into an available PCI slot or USB port.
- Allow the system to recognize the adapter: Your operating system might automatically install the necessary drivers.
Method 4: Using Windows Update
Step-by-Step Guide:
- Connect to the internet: Connect your computer to the internet using an alternative method, like tethering from a mobile phone.
- Go to Windows Update: Navigate to Settings > Update & Security > Windows Update.
- Check for updates: Click on ‘Check for updates’ and allow Windows to search for and install the necessary network drivers.
Additional Tips and Troubleshooting
Having trouble? Here are some additional tips:
- Ensure Compatibility: Always ensure that the drivers you download are compatible with your operating system. Using incompatible drivers can cause issues.
- Manual Installation: If the setup.exe doesn’t work, you may need to manually install the driver via Device Manager. Right-click on the network adapter, select ‘Update Driver’, and point to the location of your downloaded drivers.
- Reboot Your Computer: Sometimes a simple reboot is needed for the changes to take effect.
- Check Network Settings: Go to Network & Internet settings to ensure that the network adapter is recognized and properly configured.
Conclusion
Installing a network adapter without an optical drive is entirely feasible with a few workarounds. Whether downloading from the manufacturer’s website, using a USB drive, relying on preloaded drivers, or utilizing Windows Update, you can easily get your network adapter up and running. By following these steps, you’ll ensure that your computer connects seamlessly to your network, enhancing your internet and file-sharing capabilities.

