
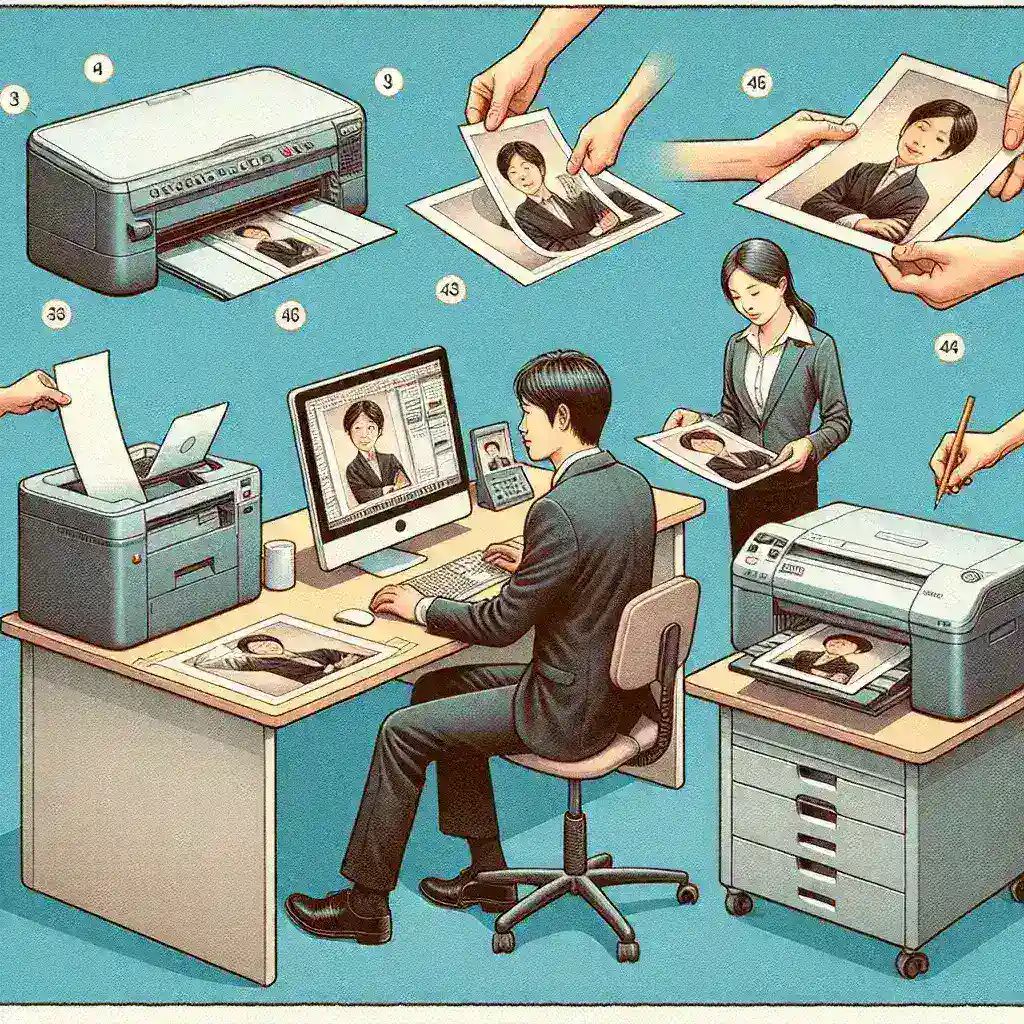
Scanning and printing pictures from a computer can be a valuable skill for personal and professional use. Whether you want to digitize old photographs or print a recent picture in high quality, understanding the process is essential. This guide will walk you through the steps to scan and print pictures from your computer efficiently.
Required Equipment
Before diving into the process, ensure you have the following equipment and software ready:
- Scanner: A device to digitize your photographs.
- Printer: An inkjet or laser printer for printing images.
- Computer: A PC or Mac to manage the scanning and printing process.
- Image Editing Software: Software like Adobe Photoshop, GIMP, or even built-in applications like Paint.
Scanning Pictures
Step 1: Prepare the Scanner
Ensure your scanner is correctly connected to your computer and installed with the appropriate drivers. Place the photograph face down on the scanner bed. Make sure it is aligned properly to avoid any skewed scans.
Step 2: Use Scanning Software
Open your scanning software. This can be the software that came with the scanner or a third-party application. Set the desired resolution (usually 300 DPI or higher for photographs) to ensure a high-quality scan.
Step 3: Scan the Image
Preview the scan first to ensure everything looks correct. Adjust if necessary. Once satisfied, click on the scan button to digitize the picture. Save the scanned image in a suitable format, such as JPEG or PNG.
Editing Scanned Pictures
Basic Adjustments
Using your image editing software, make basic adjustments to improve the quality of the scanned image. Here are some common adjustments:
- Cropping: Remove any unwanted areas.
- Brightness/Contrast: Adjust to enhance the image.
- Color Correction: Correct any color imbalances or faded areas.
Advanced Editing
For more refined results, consider advanced editing techniques:
- Cloning/Healing: Remove scratches or blemishes.
- Sharpening: Improve the image clarity.
- Filters: Apply artistic or enhancement filters for better aesthetics.
Preparing for Printing
Step 1: Choose the Right Paper
Select the appropriate paper for printing your image. High-quality photo paper is recommended for the best results.
Step 2: Printer Settings
Open the printer settings dialog and choose the highest quality print settings. Ensure the paper type and size match your selected photo paper.
Step 3: Print the Image
Open the photo in your image editing software or use the default photo viewer. Click on the print option, verify the settings, and proceed with printing. Make sure your printer has enough ink and the paper is loaded correctly.
Common Issues and Troubleshooting
Scanner Not Recognized
If your computer does not recognize the scanner, check the connections and reinstall the drivers if necessary.
Poor Scan Quality
For poor scan quality, increase the resolution settings and ensure the glass on the scanner is clean.
Printing Problems
If the print quality is poor, verify the printer settings, check the ink levels, and ensure the correct paper is loaded.
Conclusion
Scanning and printing pictures from your computer involves several straightforward steps, from preparing the equipment to adjusting and printing the final image. By following this guide, you can digitize and print your favorite pictures with ease and high quality.